Using custom subscriber fields
Store extra details about your subscribers, like company, city, or birthday, with custom fields, then use them to personalize emails and build segments.
By default, TinyCourier keeps an email and a name for each subscriber. Custom fields let you store anything else you want, like company, city, plan, or signup date, and then use it to personalize emails and target the right people.
Creating a field
Go to Subscribers → Fields → New field. Give it:
- A label: what you’ll see (e.g. “Company”).
- A type: what kind of data it holds.
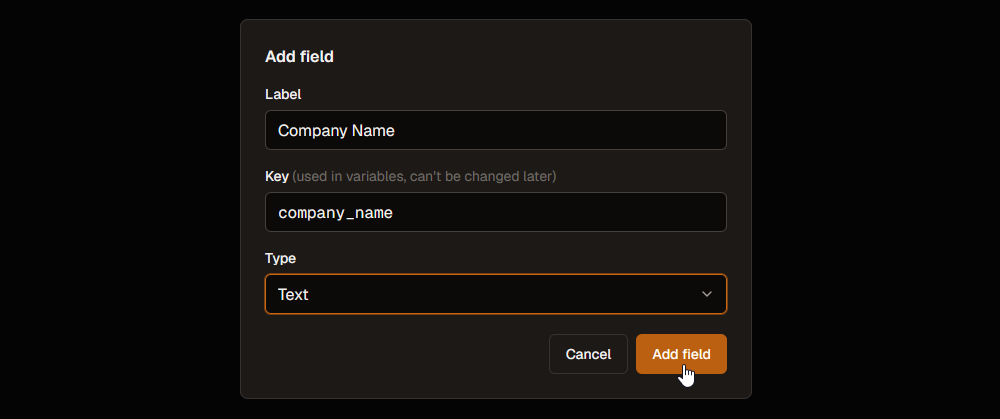
Field types
- Text: words or short answers (names, company, city).
- Number: counts or amounts.
- Date: a calendar date (birthday, signup date).
- Yes/No: a simple true or false.
- Dropdown: a fixed list of choices you define.
Pick the type that matches your data. A date field lets you do date-based things later; a text field won’t.
A couple of built-ins
- Email is always there and can’t be removed (it’s how we reach people).
- Name comes with every account, but you can remove it if you don’t need it.
Filling fields with data
Custom fields get values from:
- Imports: map a spreadsheet column to a field. See Import your subscribers.
- Signup forms: add the field to a form so people fill it in themselves.
- By hand: edit any subscriber and type a value.
Why fields are powerful
Once you store a detail, you can:
- Personalize emails: drop it in with a merge tag, like
{{ company }}. See Personalize with merge tags. - Build segments: target “everyone whose plan is Pro” or “subscribers in Berlin.” See Tags and segments.
Tip: keep it tidy
Only create fields you’ll actually use. A handful of useful fields beats dozens of empty ones. You can drag to reorder them anytime.